Do I paint? Do I stain?
Let’s Do Both!
Sometimes you have a piece that is a beautiful piece and you want to stain it. However, it has damage that prevents a complete stain job. This look is perfect for that situation and I will show you how I did it!
Disclosure: This blog contains affiliate links. I will receive a commission for items purchased through these links at no extra cost to you. I appreciate your support. Please read all labels and follow all manufacturer safety recommendations when working with paints, stains, and other equipment.


Don’t you just love the understated elegance of this beautiful dresser and nightstand? These two pieces are actually not a set but if you look closely, you can see that the curved carvings on the nightstand complement the carvings on the dresser. After painting and staining these two pieces, they end up looking like they go together. It’s a great way to take two pieces that don’t match completely and make them a set! Adding paint to a piece but leaving much of the stain showing is a great method when you have pieces that might have some damage to the wood that will show if stained and a great way to use up leftover paint, because this method does not take a lot of paint!
Before:

Spanish Revival Style Dresser
This Spanish Revival style dresser was in pretty good shape when I bought it. However, if you look closely, you can see where the veneer on the drawers is damaged. This is the main reason I decided to paint around the edges of the drawers. I didn’t want to cover up the beautiful grain of wood in the center of the drawers, so I wanted to leave those stained.

Tuscan Style Nightstand
This Tuscan style nightstand is much newer than the dresser but I only had one, so I decided to make them a pair by following the same design. Again, this piece was in excellent shape; it just needed a little work on one foot and the drawer slides. I do have a video posted on my YouTube channel showing that process. Link here: Replacing Drawer Slides and Stoppers,


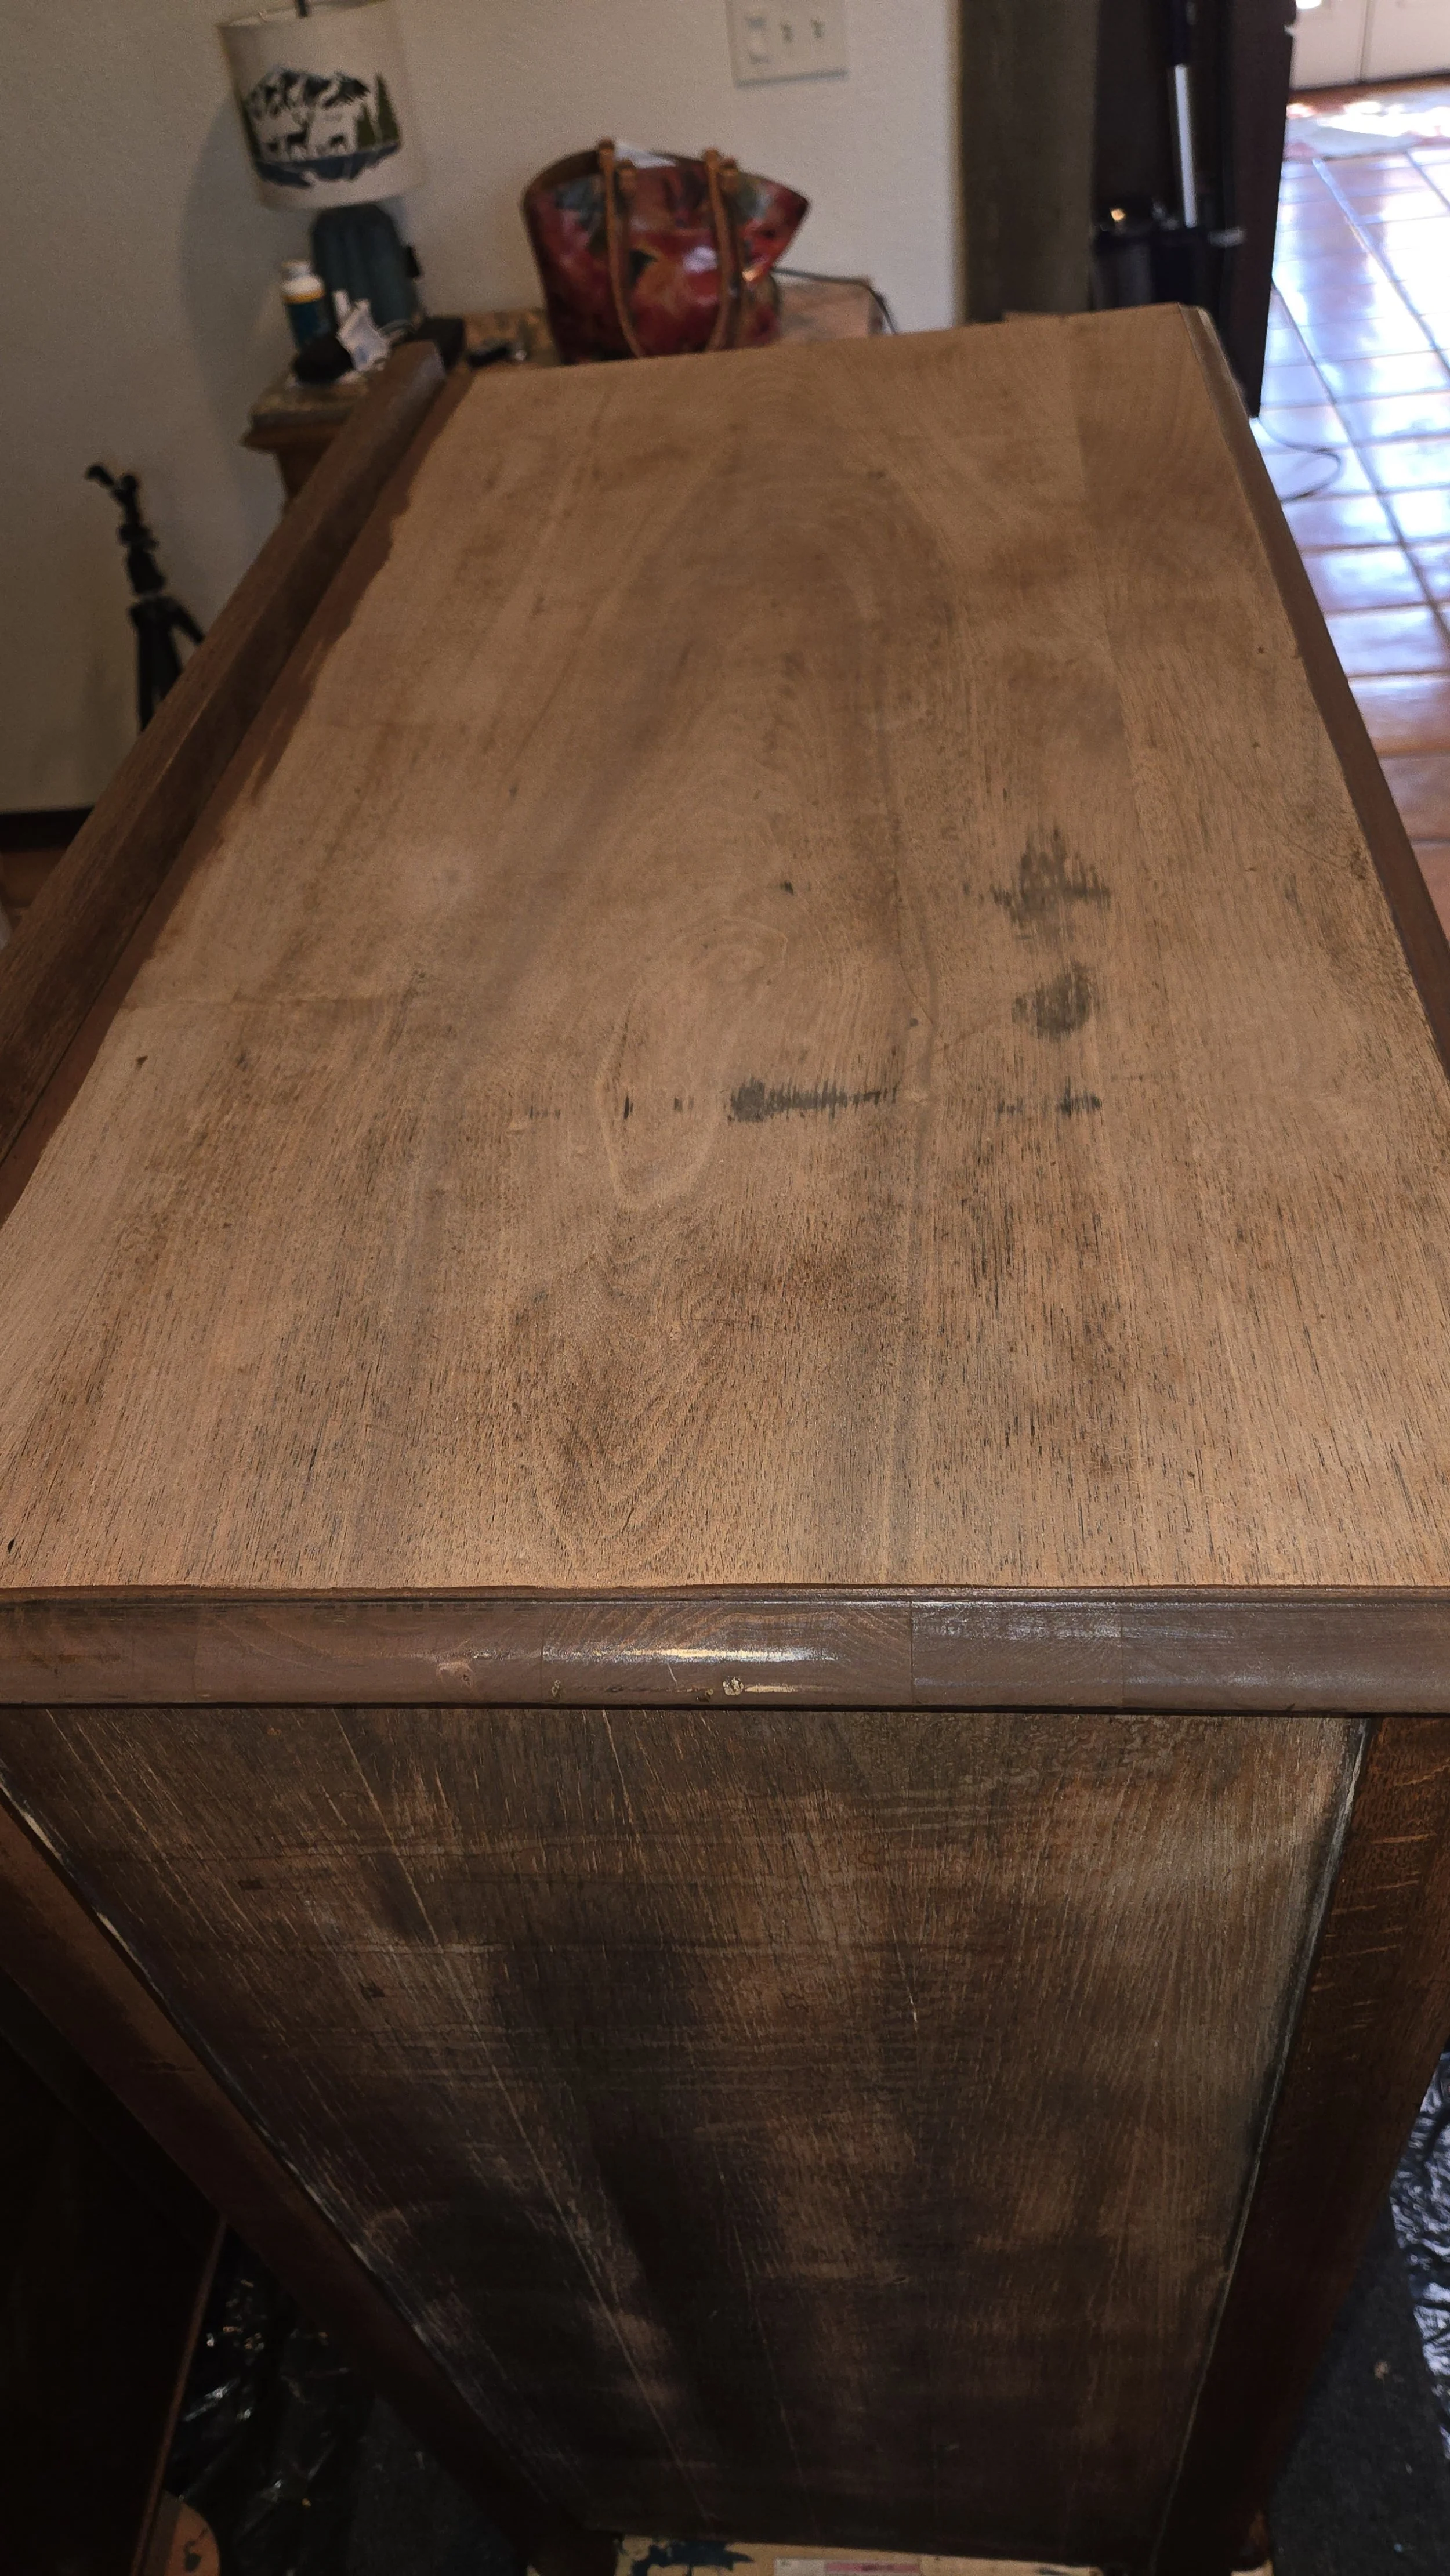
The above images show the dresser after cleaning and scuff sanding. The idea for the look was to paint parts of the dresser black but I wanted the stain to show through. It isn’t really a distressed look, that would be more rustic and would involve sanding through the paint and the wood would look sanded. I wanted the wood that shows to be stained and finished. So you might be asking, “Why did you sand?” And that would be a good question. I asked myself the same question! It was a dilemma because I’m used to sanding before I paint so that the paint will adhere to the surface. Right? However, like I already said, I wanted the wood that peaked through the paint to be stained and finished. I didn’t know what to do! Since I had already sanded “a little”, I decided to apply a stain back to the wood to get the rich color that I wanted. I really had no other option here. The original finish was scratched and faded.
Since I didn’t want to sand all the way back to the natural wood, I decided to use a Gel Stain. I will put my supplies at the end. A gel stain allows you to stain over stained wood. Yay! I didn’t have to completely sand and then stain. What a relief! In the pictures above, you can see the trim that was going to remain stained. Unfortunately, I didn’t take pictures of my steps so I will just have to describe them to you. Sorry! I planned on painting the sides and the edges of the drawers, as well as the top.

Make those carvings stand out!
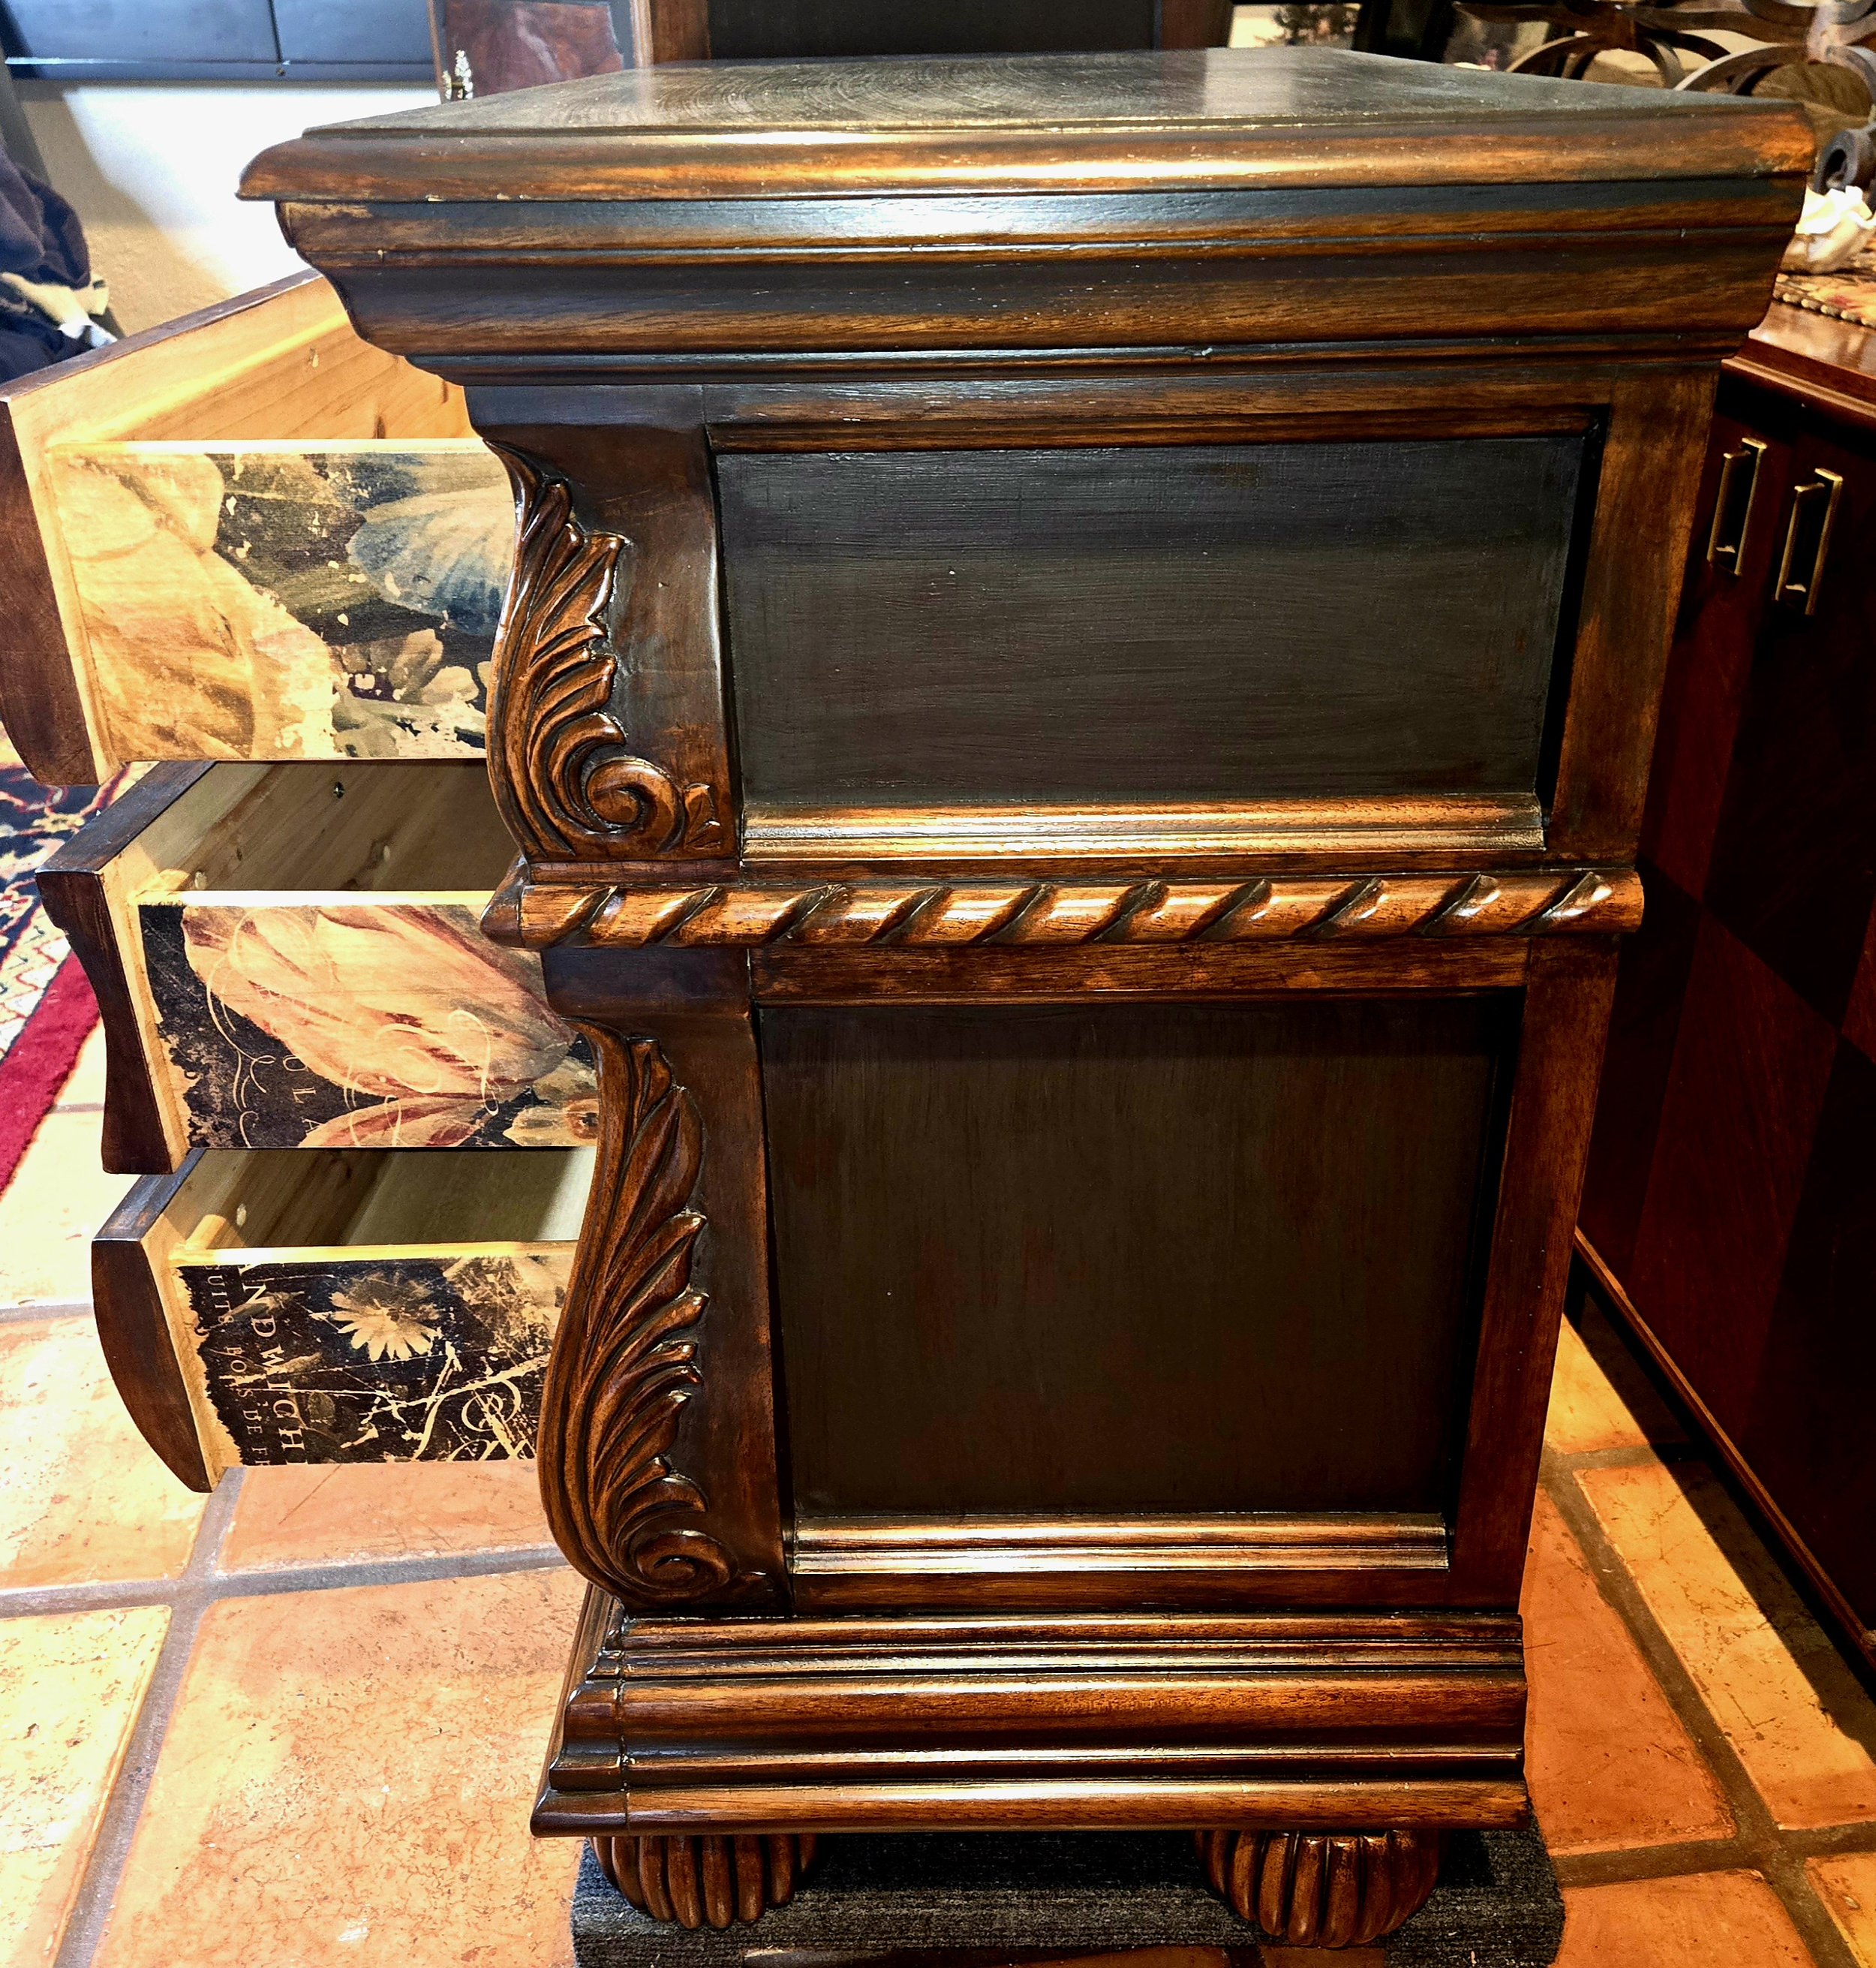
These are two little drawers at the top of the dresser. I wanted the raised carvings to be wood but the recessed areas to be black. So I painted the entire surface - hard to just paint the recessed areas - and then I wiped the paint off.

Painting the trim
As I said above, the trim on these drawers was damaged and so that left me no choice but to paint this section. This was easy to do with the carved out sections already there. You can see the beautiful grain of these drawers in this picture and I definitely wanted to showcase it. Down below you will see how beautiful it ended up being after I applied Watco Danish oil.

Painting the Top!
The top of this dresser had some flaws so I painted it as well, but it is almost a dry brush method so the wood shows through just a bit. To do this, apply paint and then use a spray bottle of water to spray the surface and keep brushing until you reveal some of the wood. You could also use a rag and wipe it back. Try both and see which method gives the look you want.

If you’ve got it, FLAUNT IT!
Wow! Look at that amazing woodgrain! To get this look, I sanded through the old finish using 120 grit, 180 and then 220 until it was smooth as butter. I didn’t want to cover up any of the natural wood so instead of a stain, I used Watco Danish oil in natural just to enhance the grain. What do you think? I love it!
I only used Watco Danish oil on the drawers. I did not use it on any other parts of the wood. I used a stain on the remaining wood on this dresser and then I applied a topcoat on that and the painted areas.
*Remember, don’t mix water based and oil based products without doing your homework first.


The dresser was the hardest part of this project, partly because it needed some surface work and partly because I was trying to figure out the process. However, I did have to replace the drawer slides and stoppers on the nightstand - look for that video below. Remember I said that I sanded the dresser and then had to restain parts of it? Well, why do we sand before we paint? Right! We sand to roughen up the surface so paint will adhere. But when I sanded, I had to restain so that I had the finish I wanted. So when I got to the nightstand, I didn’t sand because it had a really nice finish already and I didn’t want to repeat the process that I did on the dresser. So confusing! Anyway, when I began to paint the UNSANDED nightstand, it really didn’t want to stick. When I painted and then proceeded to wipe it back, all the paint would come off. Can’t win for losing! However, I just went with it. I painted and then wiped gently so that I didn’t take it all. If you let the paint dry more than a few minutes, it will not wipe off. Of course this would depend on what type of paint you’re using. I used a cabinet paint on these pieces (posted below), not chalk. Chalk paint would have worked better but I wanted to use what I had. I love chalk paint when I am blending or in this case, getting that dry brush look. Again, I chose to wipe the paint back but dry brushing might have worked just as well.
The sides of the dresser and the nightstand were painted solid, as well as the trim around the drawers. The remaining parts of the pieces were painted and then wiped back.
Adding the Jewelry!


The first piece of jewelry I added was the decoupage paper to the drawers. I did all 3 of the nightstand drawers but only the top 2 of the dresser. I love this look! Of course, these pieces were definitely designed with a woman in mind. The paper you choose will determine a specific personality for your piece. Below is a short video on this process. You can find more videos on my YouTube Channel. Here’s the link: Feisty Red Creations YouTube Channel
The next piece of jewelry is the hardware. Your hardware is always the most important piece of jewelry ….UNLESS, you decide you don’t want jewelry. That is another post! All of the hardware on these pieces is original EXCEPT for the dangling pulls on the top dresser drawers. I cleaned the hardware and then painted it a brushed gold and then accented it with black wax.


I hope you enjoyed learning about this paint and stain process. Please follow me on my Facebook, Instagram and Youtube Channel if you want to see other projects that I have completed.
Supplies used:
RROS18-0 18V ONE+ Cordless Random Orbit Sander (Bare Tool)
KRUD Original KUTTER 32oz Spray Cleaner & Degreaser Stain Remover
Valspar tintable Cabinet and Furniture paint in Black
reDesign by Prima Decoupage Mulberry Paper Bridgette (I’m not sure if this paper is still available but they have many other beautiful styles)
Drawer Slide Track Guide for Dressers