Using a Paint Sprayer for the first time
Disclosure: This blog contains affiliate links. I will receive a commission for items purchased through these links at no extra cost to you. I appreciate your support. Please read all labels and follow all manufacturer safety recommendations when working with paints, stains, and other equipment.

When my oldest daughter decided to remodel her kitchen, I volunteered to help her paint her kitchen cabinets. At that time I hadn’t even thought about using a paint sprayer to do it. However, I had been watching videos of people using them to paint furniture and I decided that I needed one too! It would help me prime and paint when only using one color; it would make my life easier. So I bought a Wagner Flexio 3500 but had not used it yet when I went to stay with my daughter and redo her kitchen cabinets. Man oh man! What a good decision! What would have taken me a couple of weeks to do with a brush only took me 4 days to complete with a sprayer. Not only was it fast but it left a professional finish that I could not have achieved with a brush.
Priming
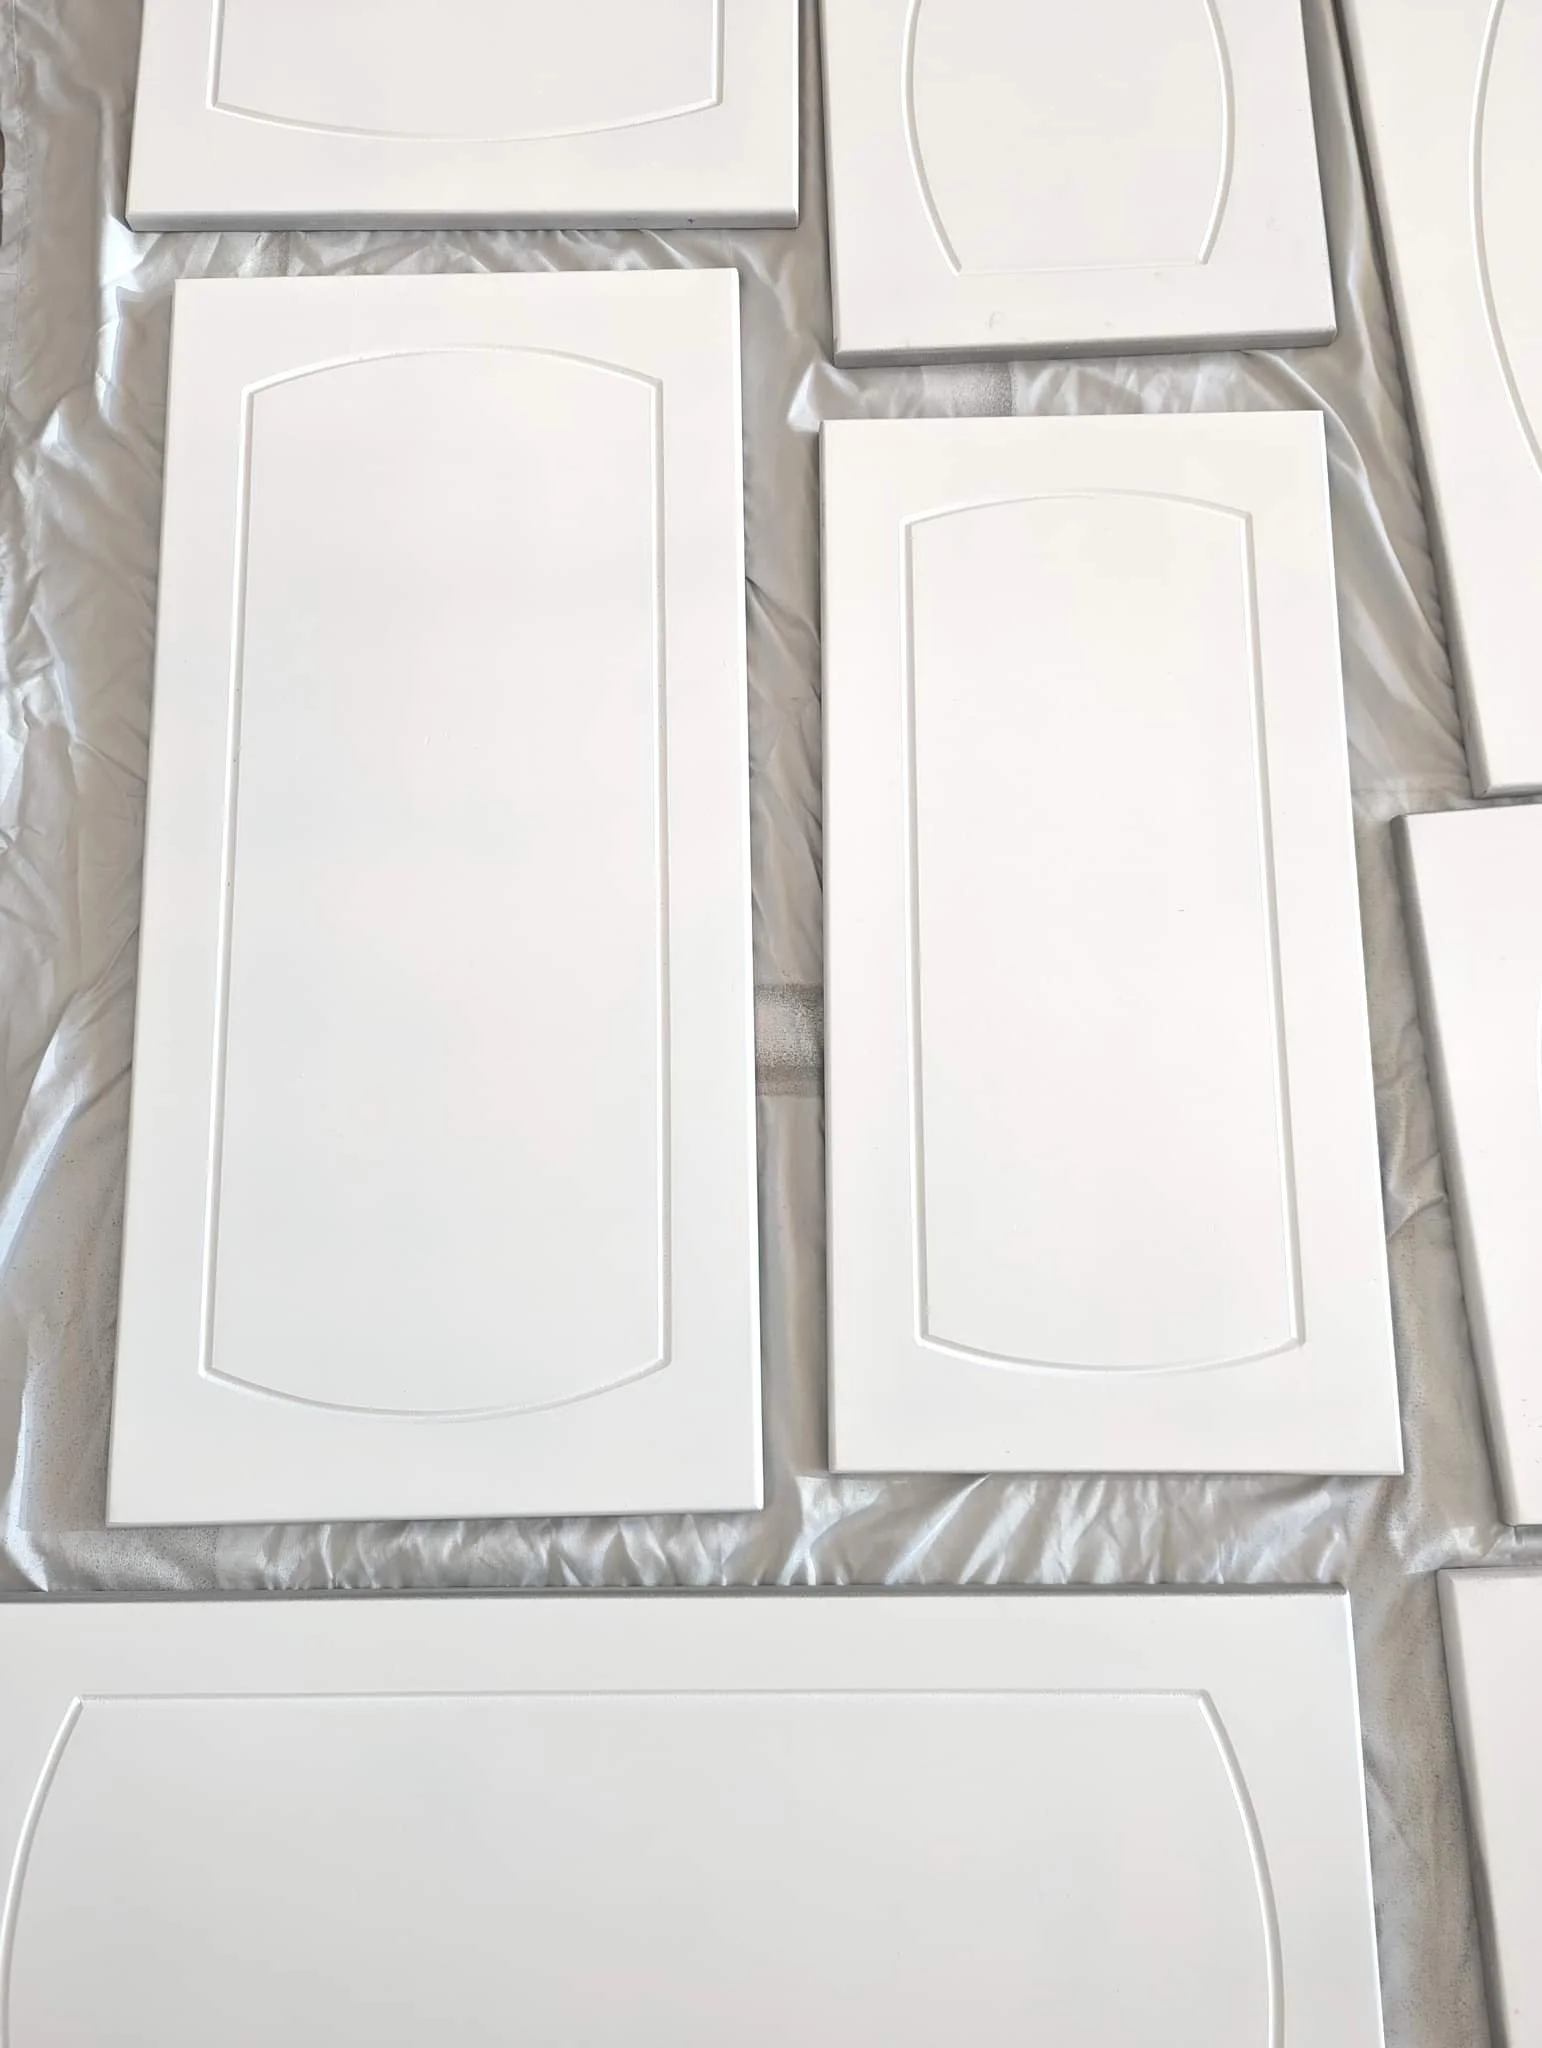
I am starting the story with Priming, however, before this could happen, a lot of work took place. My daughter had to take off the doors and remove the hinges. These doors did not have hardware so that saved a step. She had to clean all of the doors and the boxes before we could prime. So So So IMPORTANT! Especially on kitchen cabinets that had collected grease and grime over many years. Once they were clean, we did a light sanding over both sides of the doors and the cabinet boxes.
I cannot say enough about the time that we saved by spraying these doors. What took 4 days would have taken 2 weeks to complete if we had used a brush. We did have to use a brush on the boxes. Her kitchen is small and if we had chosen to spray, we would have had to tape off and cover all of the spaces we did not want to paint. It just wasn’t worth the time to paint such a small area.
Also, a sprayer gave such a professional finish where using a brush would have left brush marks. I really admire those of you who can use a brush and get such a beautiful finish, but I am just not there yet.

As you can see, our process was not as professional as the finish. We used the garage and laid down sheets on the floor; not ideal but it worked! We laid out all of the doors and I primed one side and let them dry. The biggest challenge of this project was time because I had only 4 days. The drying time between coats is necessary and could not be rushed so we started every morning and worked until dark every day. I did sand between coats with a 220 grit sand paper. This made the finish as smooth as a baby’s bottom….lol. While we waited for the doors to dry, we painted on the cabinet boxes inside.
This sprayer was amazing! What took the longest was waiting for coats to dry. I painted one side and had to wait for them to completely dry before turning over. Trying to go to fast would cause the doors to stick and would mess up the paint. It was hard to wait! I did two coats of primer before moving on to the paint layer.
In this project, my main challenge was learning how to use the sprayer. It sounds simple but I ran into some challenges. Basically there are 3 things that affect the flow of the paint - the air pressure, the amount of paint being sprayed, and the thickness of the paint. But also a contributing factor is the speed of your movement back and forth. I found that I needed to experiment each time I filled up my sprayer and I had to do that a lot for this project. Most paint will tell you that you do not need to thin it in order to spray but I found that it works better if you do. There are tons of videos on YouTube that will help with learning to use your specific sprayer and there are instructions with the sprayer as well. Some advice - if you thin your paint, measure the ratio of water to paint that you use so that you know what to do each time you replace the paint. Remember also that all paint is different so it won’t be the same every time. You just have to practice, practice, practice!
The video below is me painting on the final coat of paint. At this stage, I moved the doors and set them individually on a stool so that I could get a better angle for painting the sides. I will list the supplies and equipment I used at the bottom of this post.
I wish I had done a better job of taking pictures but I just got busy and involved and forgot. I don’t have a before picture either but the cabinets were a dark brown. What an improvement! I got lucky because this was the first time I had ever used a sprayer and it turned out great! As you can see in the picture at the top, my daughter added black hardware which looks great with the grey finish, now had a brand new kitchen. They also redid their backsplash and countertops but that’s a whole other story.
Supplies used:
Wagner Flexio 3500 paint sprayer
Sandpaper - 120 grit, 180 grit, 220 grit
Paint brushes for painting the cabinet boxes in a variety of sizes.
KISCHERS Reusable Half Facepiece and Anti-Fog Safety Goggle Set