Creating a Rusty Patina!
Disclosure: This blog contains affiliate links. I will receive a commission for items purchased through these links at no extra cost to you. I appreciate your support. Please read all labels and follow all manufacturer safety recommendations when working with paints, stains, and other equipment.
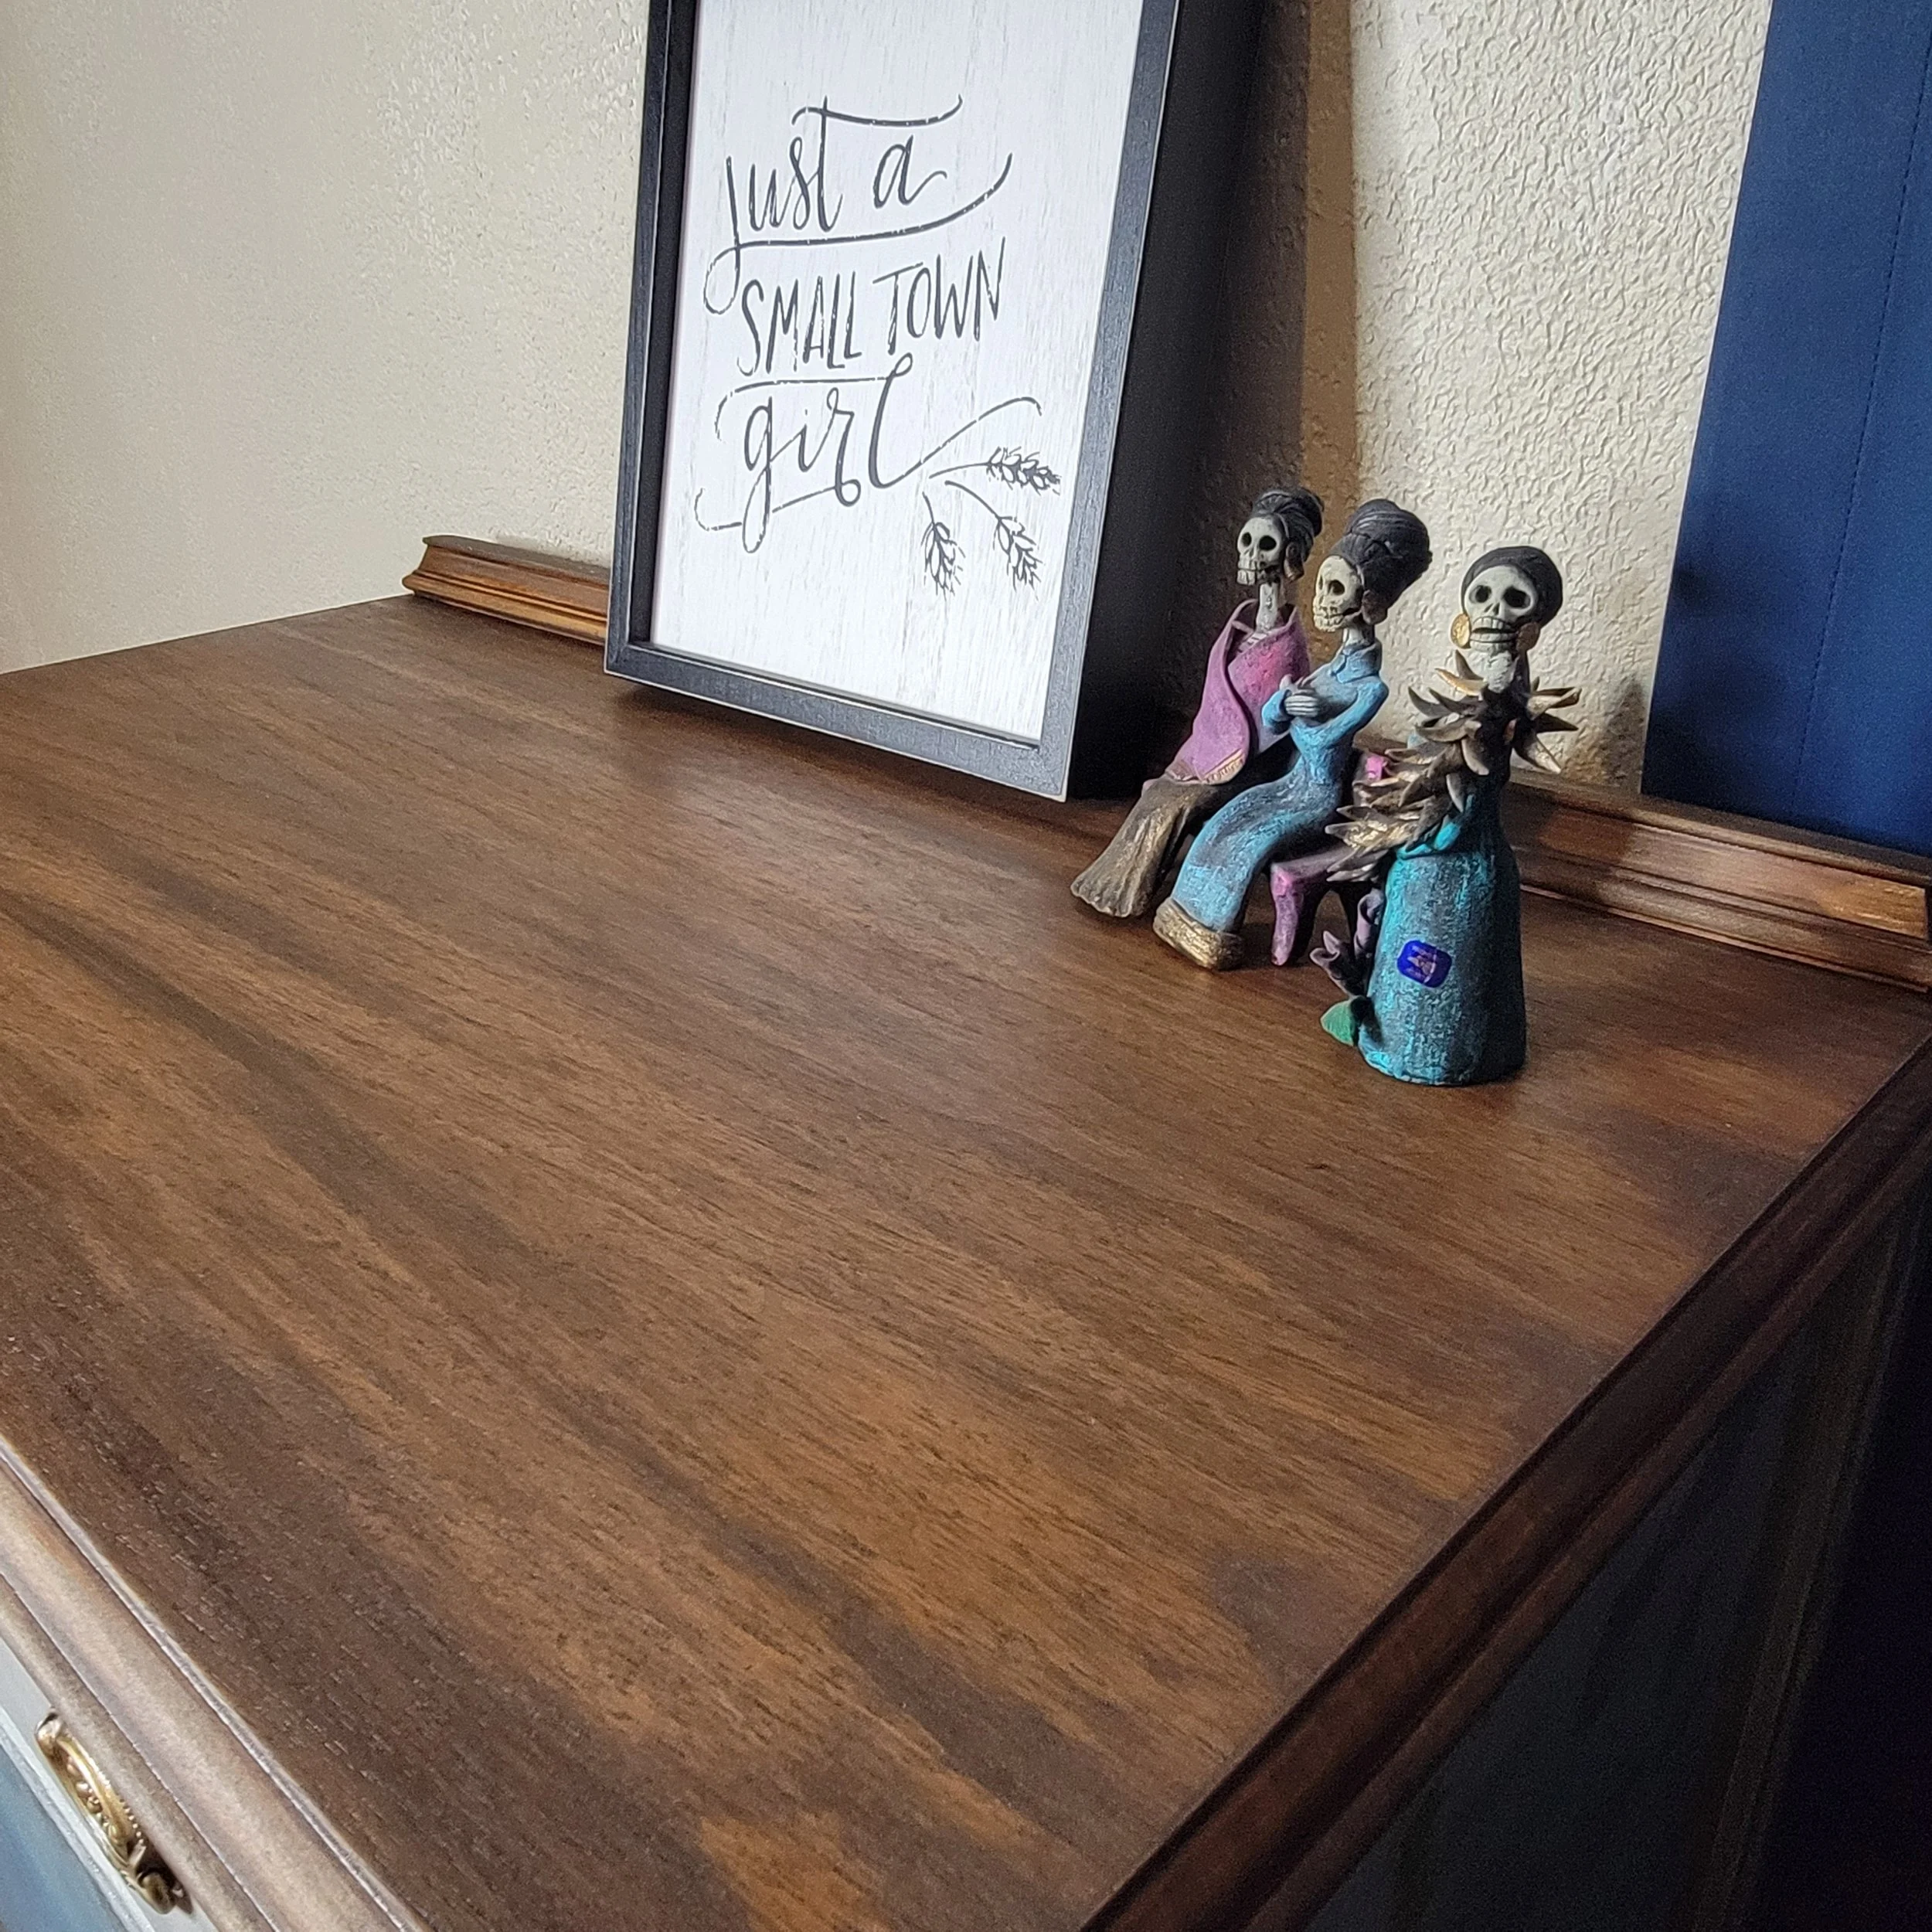
As I look at the picture above, I am reminded of something. I live in El Paso but I am originally from New Mexico, born and raised. There is a cute little town called Old Mesilla, which is right off of I-10 in Las Cruces. If you ever find yourself in the area, you should check it out. Cute stores and great food! If you look at my picture above, you might notice the cute little Day of Dead figures on the top of the dresser. I bought these when my friend was visiting me and they represent me, her and another close friend of mine. I bought them at a store called Galleria on the Plaza. If you want a little NM flavor in your house, stop by and check them out.
If you like old and rustic, then you will love the way this dresser turned out. Dixie Belle’s patina paint line helped me achieve this old rusty finish but I went through many steps to reach this final look, so let me take you through my process. If you want to see some of the steps I took, videos will be coming to YouTube soon.
Before:

I had so much fun refinishing another dresser in this same style, that I decided to try it again. And again, I began with an inspiration but it soon migrated into its own original look
This piece was in great shape and solid wood. All I had to do was clean it really good and do a scuff sand to prepare for painting. I completely sanded the top so that it could be stained and then I taped it off to protect it during the painting process.

My vision was to create a gradient of colors beginning with a creamy white at the top, into blues and then browns at the bottom. I began by painting just a solid brown on the bottom half and the creamy white at the top, as you can see in the picture. I also knew that I wanted the final look to be rustic and weathered so my plan was to use the Dixie Belle patina paints to create that look.
I soon figured out that I didn’t really need the brown paint at the bottom but oh well.

My inspiration piece used the patina combinations to create the blue in the final piece. However, I did not get the look that I wanted by doing that so I used paint. I painted the bottom of the dresser (over the brown) with the Dixie Belle Patina paint in Bronze. This line of paints is beautiful on its own. You do not have to activate it with the spray and here I used it just as a paint alone. I then painted the center part of the side panel with Wise Owl Refurbished Gentleman and began to blend it with Isle Avenue at the top. Here you can see the first coats going on and you can definitely see that I will need another coat. However, I am starting to see the beginnings of my vision.

This picture shows where I added the Iron patina paint at the bottom and then activated it with the Green spray. This is a great way of creating a old rusty finish. In this picture, I have not added any blue to the front.
In the picture below I have added blue and blended the paints. At the bottom you can really see the rust that I have created using the Iron paint and the green activator spray.
This dresser was definitely a work in progress for a LONG time. I do not have pictures of every step but I can tell you that I added paint, blended and layered, until I achieved the look I wanted. I add the patina paint and activated it a few times. Sometimes once does not give you the look you want. Keep adding it until it does. You can always sand it and add more paint if you get too much. Don’t be afraid to try it! If you don’t like it, all you have lost is a little time.
The pictures below are all of my AFTER pictures. After I finished painting, I added Wise Owl’s Opalescent Pearl glaze and if you look closely, you can see the sheen that it left. I love the look! I want to use more of the glazes.
I cleaned the hardware and scrubbed it with a wire brush. Look at the difference in that last picture! I then sprayed it with a burnished gold and applied black wax to bring out the details.
I completely sanded the top of this dresser so that I could stain it. I didn’t really know what would look best after painting it so leaving it sanded allows for me to decide later. I used a Dark Walnut stain from Lowes on the top and I think it turned out great!


Supplies used Below:
Wise Owl paints in Isles Avenue and Refurbished Gentleman
Dixie Belle patina line in Copper, Bronze, Iron and Activator spray in Green